Septic tank risers are one of the highest-ROI upgrades you can make to a septic system. Michigan State University Extension puts it plainly: the one-time installation cost pays for itself through savings on future pump-outs alone. Most systems need a 24" diameter riser over each manhole. PVC/polyethylene is the right material — watertight, lightweight, and cuttable to exact grade height. Tuf-Tite and Polylok are the leading brands.
What Is a Septic Tank Riser?
A septic tank riser is a vertical pipe — typically 24 inches in diameter — installed on top of a septic tank's access port (manhole), extending from the tank lid up to ground level. Instead of requiring excavation every time the tank needs inspection or pumping, the riser brings the access point to the surface: you walk out to the yard, remove a lid with a screwdriver, and you're in.
Michigan State University Extension describes a buried tank without a riser as "welding the hood of your car shut." Without one, every service visit requires locating the buried tank, digging through potentially several feet of soil, performing the inspection, and backfilling. With a riser, the same access takes seconds.
Why Bother — The Real Cost Savings
| Without a Riser | With a Riser Installed |
|---|---|
| Locate tank using as-built drawings, probing, or visual cues (dead grass, soil disturbance) | ✔ Walk directly to the marked lid — no searching |
| Dig through 6 inches to 5 feet of soil each service visit | ✔ Remove lid with a screwdriver — seconds, not hours |
| Pay pump truck crew for digging + backfilling + pump-out labor | ✔ Pay only for the actual pump-out — significant savings over time |
| Lawn disrupted repeatedly with every service | ✔ No lawn disruption; lid is flush or barely above grade |
| Inspections skipped because of access difficulty and cost | ✔ Easy access encourages timely inspections every 3–5 years |
| Tank condition unknown between pump-outs | ✔ Lid can be opened for quick visual checks; early warning signs visible |
Source: Michigan State University Extension — "The Benefits of Septic Tank Risers"
Rhode Island requires risers on all new tanks. Washington State requires them for all systems. Several Michigan counties mandate them. Even where not legally required, MSU, URI, UMD, NC State, and UMN extension programs all independently recommend risers as a best practice for any septic system.
Materials: Concrete vs Plastic
Three materials are used for septic tank risers. University extension sources consistently point toward plastic (PVC/polyethylene) for new installations.
Heavy lids are difficult for one person to manage. Most critically: concrete riser lids are not waterproof — rainwater, snowmelt, and groundwater leak into the tank, diluting treatment and overloading the drain field. Cannot be cut to exact grade height. URI: "Lids are not waterproof, causing problems if water leaks into the tank."
Watertight — molded gaskets or butyl tape creates a complete seal. Lightweight — manageable by one person. Can be cut to exact grade height and covered with a thin soil layer to be nearly invisible. Secured with stainless steel screws for child and pet safety. Design life 25+ years. URI recommends PVC specifically over concrete.
Similar benefits to PVC — watertight, corrosion-resistant, long design life. Slightly higher cost in some markets. Less widely stocked than polyethylene risers. Good option when PVC is not available locally in the needed size.
Sizing Guide
The diameter of your tank's manhole opening determines which riser you need. The most common residential size is 24 inches in diameter — this fits over most standard residential tank openings.
| Riser Diameter | Common Use | Notes |
|---|---|---|
| 12" | Small access ports; baffle covers on some tanks | Typically for secondary access, not main manholes |
| 16" | Smaller manhole openings; some older tank designs | Less common; requires matching adapter ring |
| 20" | Openings in the 18"–19" range | Good for deep or square-opening adaptations |
| 24" (most common) | Standard residential manholes | Fits over most standard tank openings; Clallam County WA: "Risers are normally 24 inches in diameter" |
How to Determine Height
A properly equipped tank has a riser over every access point. Minimum: one riser over the main pump-out manhole. Complete installation: risers over the main manhole plus one smaller riser over each baffle cover (inlet and outlet). Without inlet/outlet risers, the baffles still require excavation to inspect — defeating the purpose. Thurston County: "A proper installation includes two manhole access risers and two smaller risers to access the inlet and outlet baffles."
Top Picks for 2026
Tuf-Tite and Polylok are the two dominant brands — documented by Maine DHHS, Clallam County WA, and Thurston County WA. Important: Tuf-Tite and Polylok parts are not interchangeable. Match brand throughout your system.
| Category | Product | Diameter × Height | Score |
|---|---|---|---|
| 🏆 Best Overall | Tuf-Tite 24×12 | 24" × 12" | 94 |
| 🔩 Best with Screws | Tuf-Tite 16×6 | 16" × 6" | 94 |
| 📐 Best for 16" Openings | Tuf-Tite 16×12 | 16" × 12" | 96 |
| 🔁 Best Stackable | Tuf-Tite 20×6 | 20" × 6" | 92 |
| ⭐ Best Complete Kit | Tuf-Tite 20×12 Kit | 20" × 12" | 92 |
| 💰 Best Budget | Tuf-Tite 24×6 Kit | 24" × 6" | 90 |
| ⚖️ Best Value | Polylok 24×6 | 24" × 6" | 92 |
| 🛡️ Best Safety Features | Aero-Stream AS-R23 | 23.5" × 23" | 94 |

Tuf-Tite 24×12 Septic Tank Riser
The benchmark residential riser. 24" diameter, 12" height, HDPE construction with UV resistance. Stackable in 6" and 12" increments to any height. Locks into position and fastens with screws. Works with the full Tuf-Tite accessory line — adapter rings, lids, filters. The go-to recommendation from installers and the starting point for most homeowner riser projects.
Best for: Any standard concrete tank with a 24" manhole opening needing 12" of rise or a stackable starting section.
Check Price on Amazon →
Tuf-Tite 16×12 Septic Tank Riser
The highest-rated option in this guide — specifically for tanks with 16" diameter manhole openings, which are found on some older and smaller tank designs. Pre-aligned screw holes make installation predictable; HDPE construction resists UV. Buyers consistently report correct fit for 16" openings and significant access improvement. Prevents surface water pooling over the access point in low-lying yards.
Best for: Older tanks with 16" access ports; stackable if more height is needed.
Check Price on Amazon →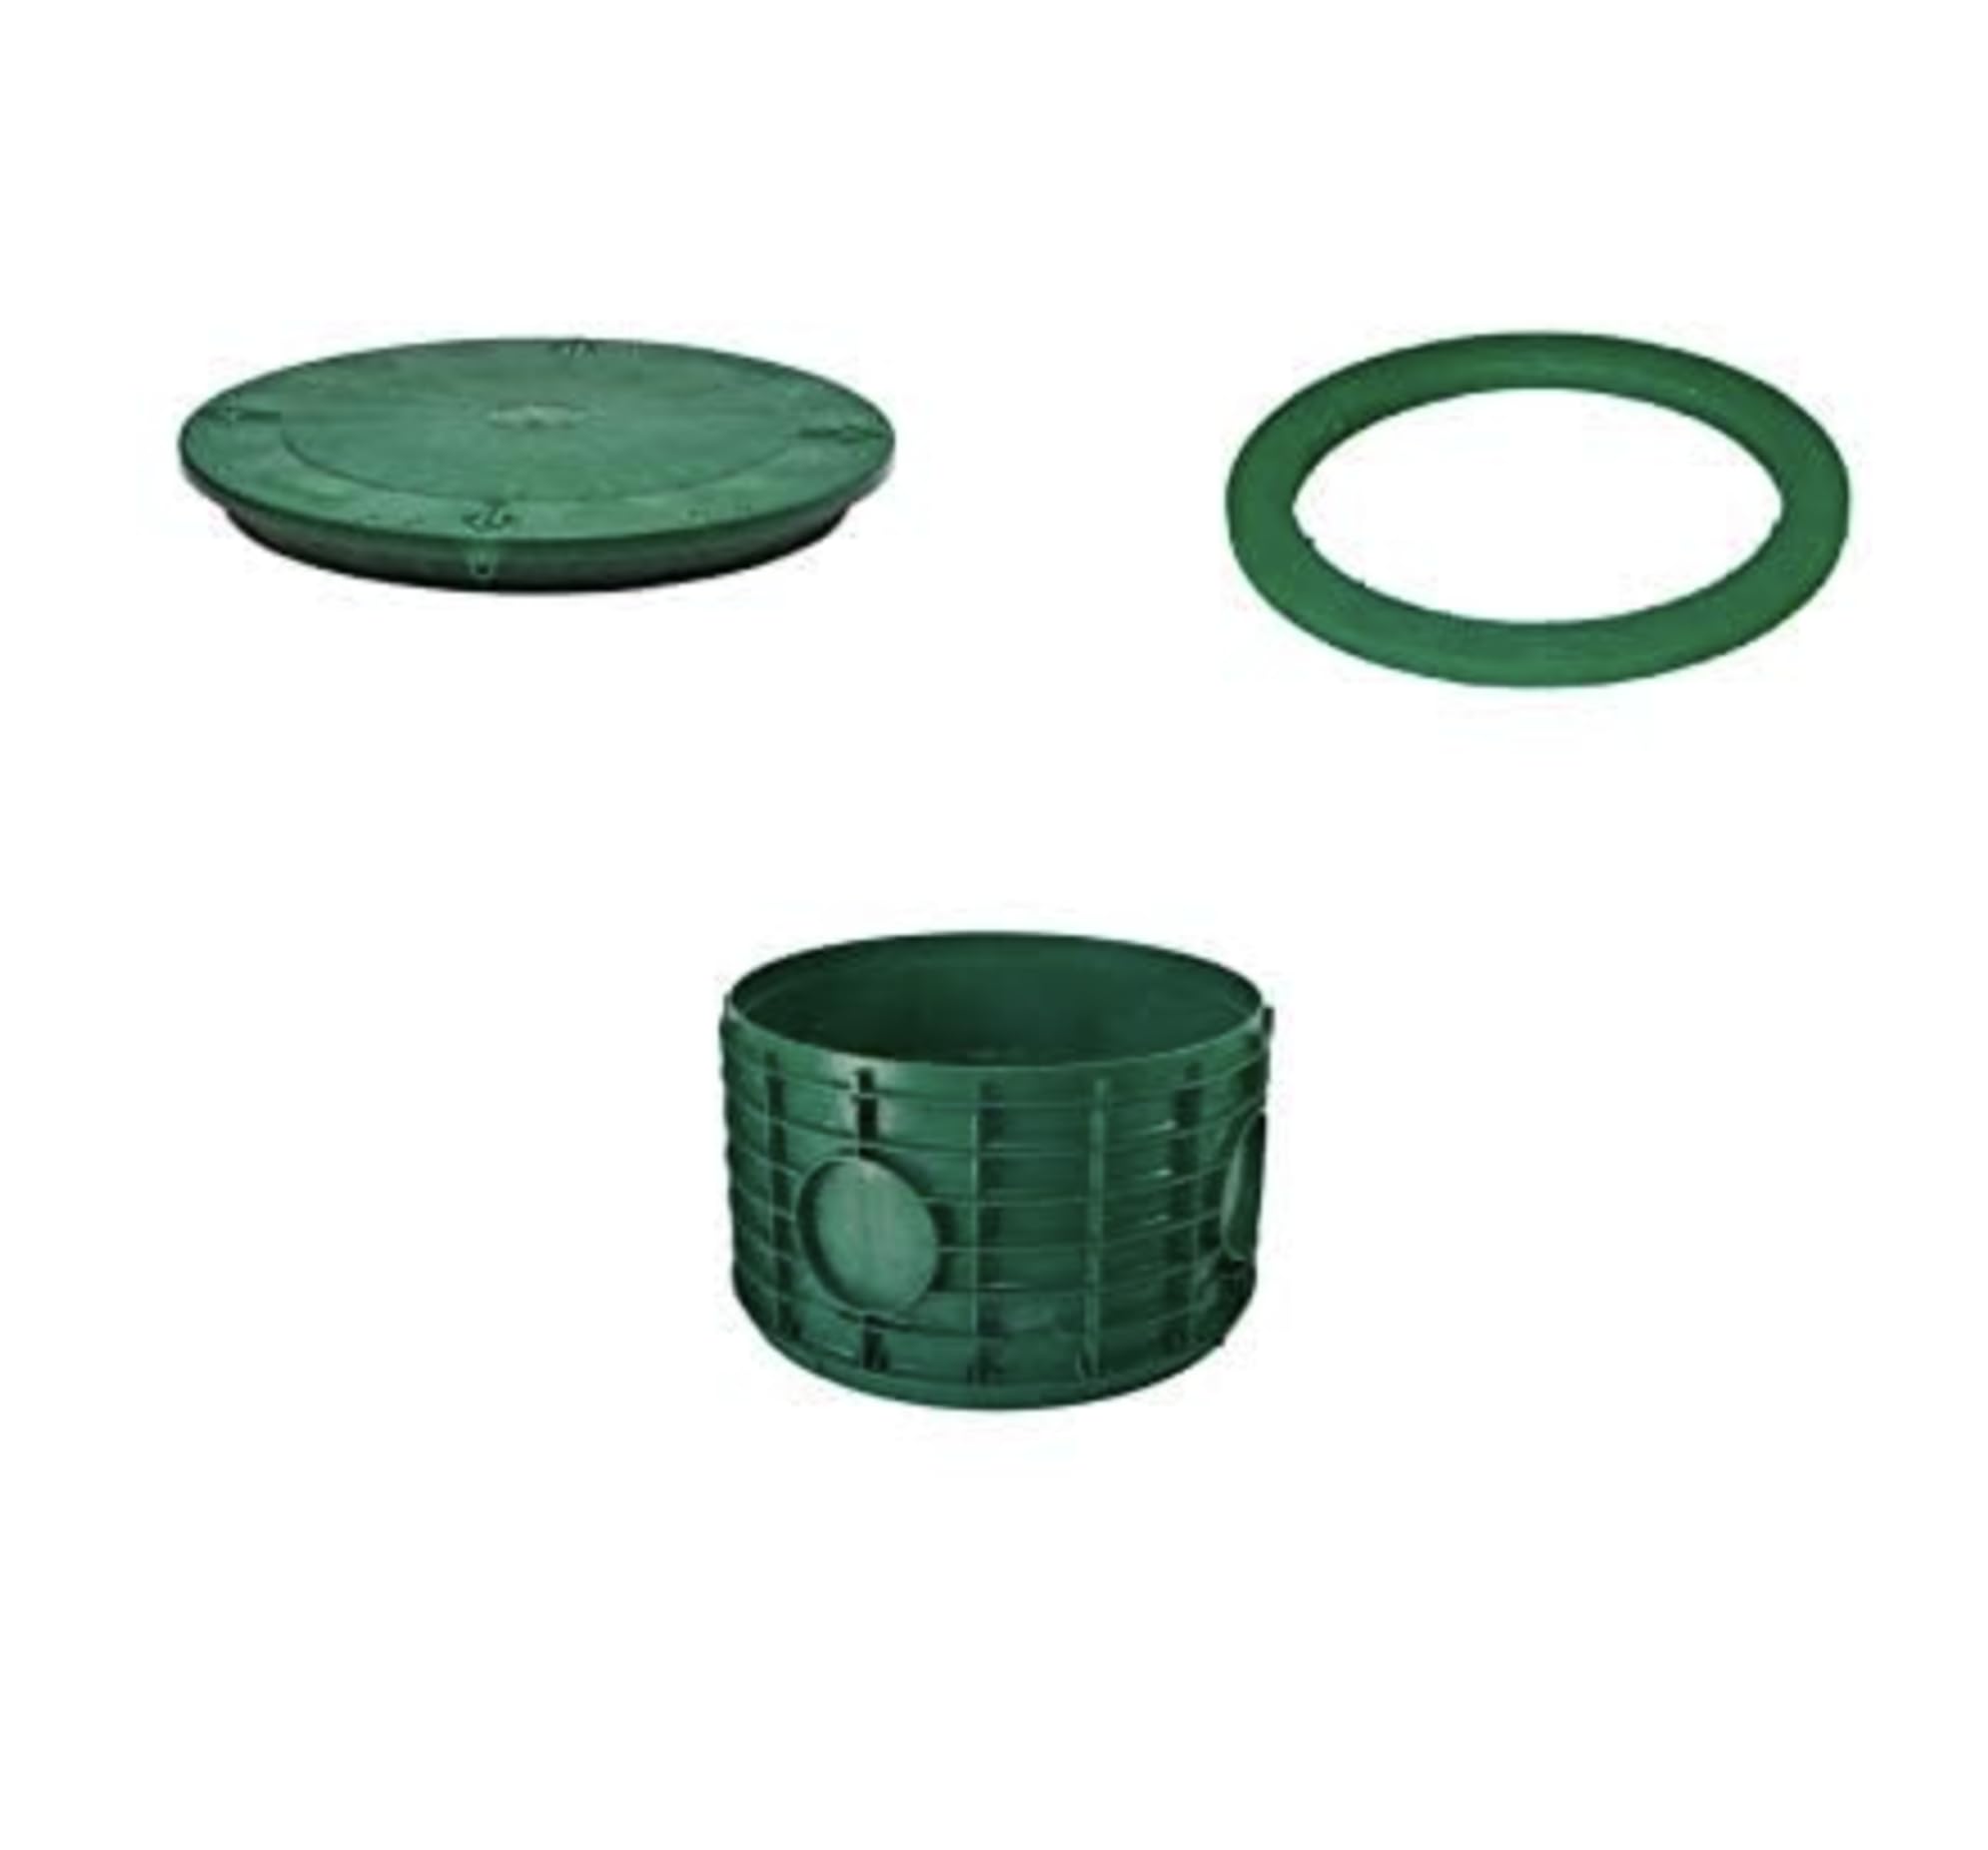
Tuf-Tite 24×6 Kit (3-Piece)
Three-piece bundle: 24×6 riser, adapter ring, and flat lid with safety screws. Pre-marked screw locations make installation faster. The flat lid keeps a low, tidy profile flush with grade — ideal for high-visibility lawns or mowed areas where a domed lid would be more obtrusive. Complete kit means no tracking down separate components.
Best for: Shallow tank depths; homeowners who want a flat, low-profile finish; first-time riser installers who want everything in one box.
Check Price on Amazon →
Tuf-Tite 20×12 Complete Kit (4-Piece)
The most comprehensive bundle in the Tuf-Tite line: 20×12 riser, domed lid, ring adapter, safety lid, and 24 screws — everything in one purchase. The safety lid adds a visible second barrier important in households with children or pets. Domed lid provides extra strength under foot traffic. Buyers who want a finished, no-compromises installation should start here.
Best for: 20" tank openings; households with children; anyone who wants the most complete single-purchase solution.
Check Price on Amazon →
Tuf-Tite 20×6 Stackable Riser
The standard 6" section for 20" Tuf-Tite systems — designed to stack precisely with other Tuf-Tite 20" components for custom height adjustment. HDPE construction with UV resistance. The 6" height makes it ideal as an incremental add-on when you need just a little more rise, or as a starting section for shallow tanks. Low-profile for yards where a high lid would look out of place.
Best for: Adding height to an existing 20" Tuf-Tite riser; shallow-buried tanks needing only 6" of rise.
Check Price on Amazon →
Polylok 24×6 Riser
Polylok's standard residential riser — 24" diameter, 6" height, UV-resistant HDPE in green to blend with lawns. Designed to replace heavy concrete lids and works with Polylok's full accessory line. Fast shipping and precise fit with existing Polylok bases. Screws are often included. A strong value pick if your system is already fitted with Polylok components.
Best for: Existing Polylok systems; value-conscious buyers; replacement sections for systems already at grade.
Check Price on Amazon →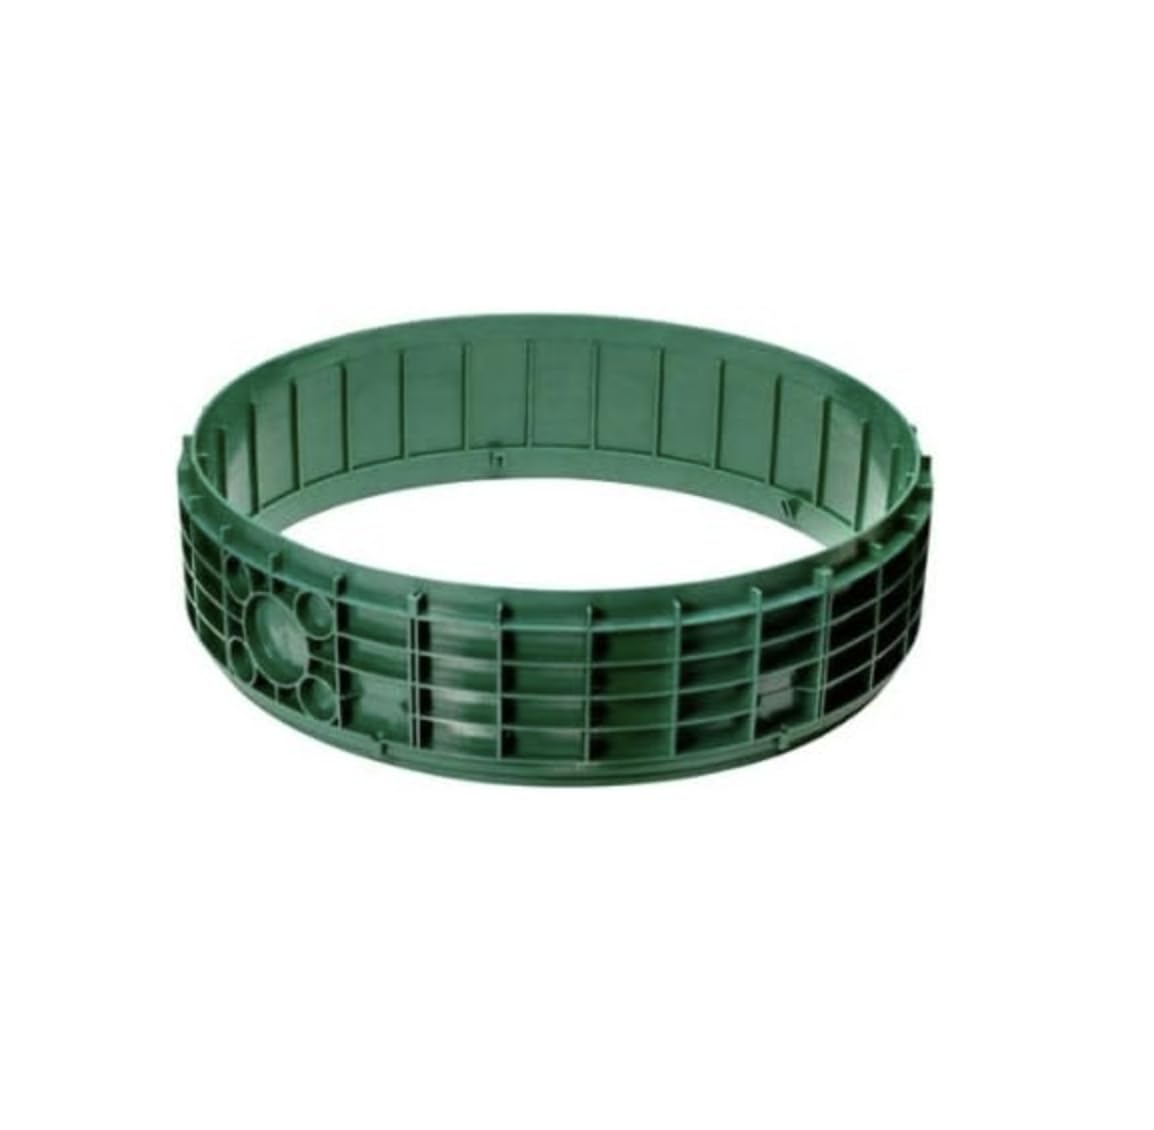
Tuf-Tite 16×6 Riser (Screws Included)
A tidy, dependable 16" × 6" section that ships with hardware included — a detail that matters more than it sounds when you're mid-installation and realize you're missing fasteners. Lightweight enough for one person to manage easily. Stackable with other 16" Tuf-Tite components. UV-resistant HDPE. Confirm lid orientation before backfilling.
Best for: 16" Tuf-Tite openings; DIY installers who want complete hardware in the box.
Check Price on Amazon →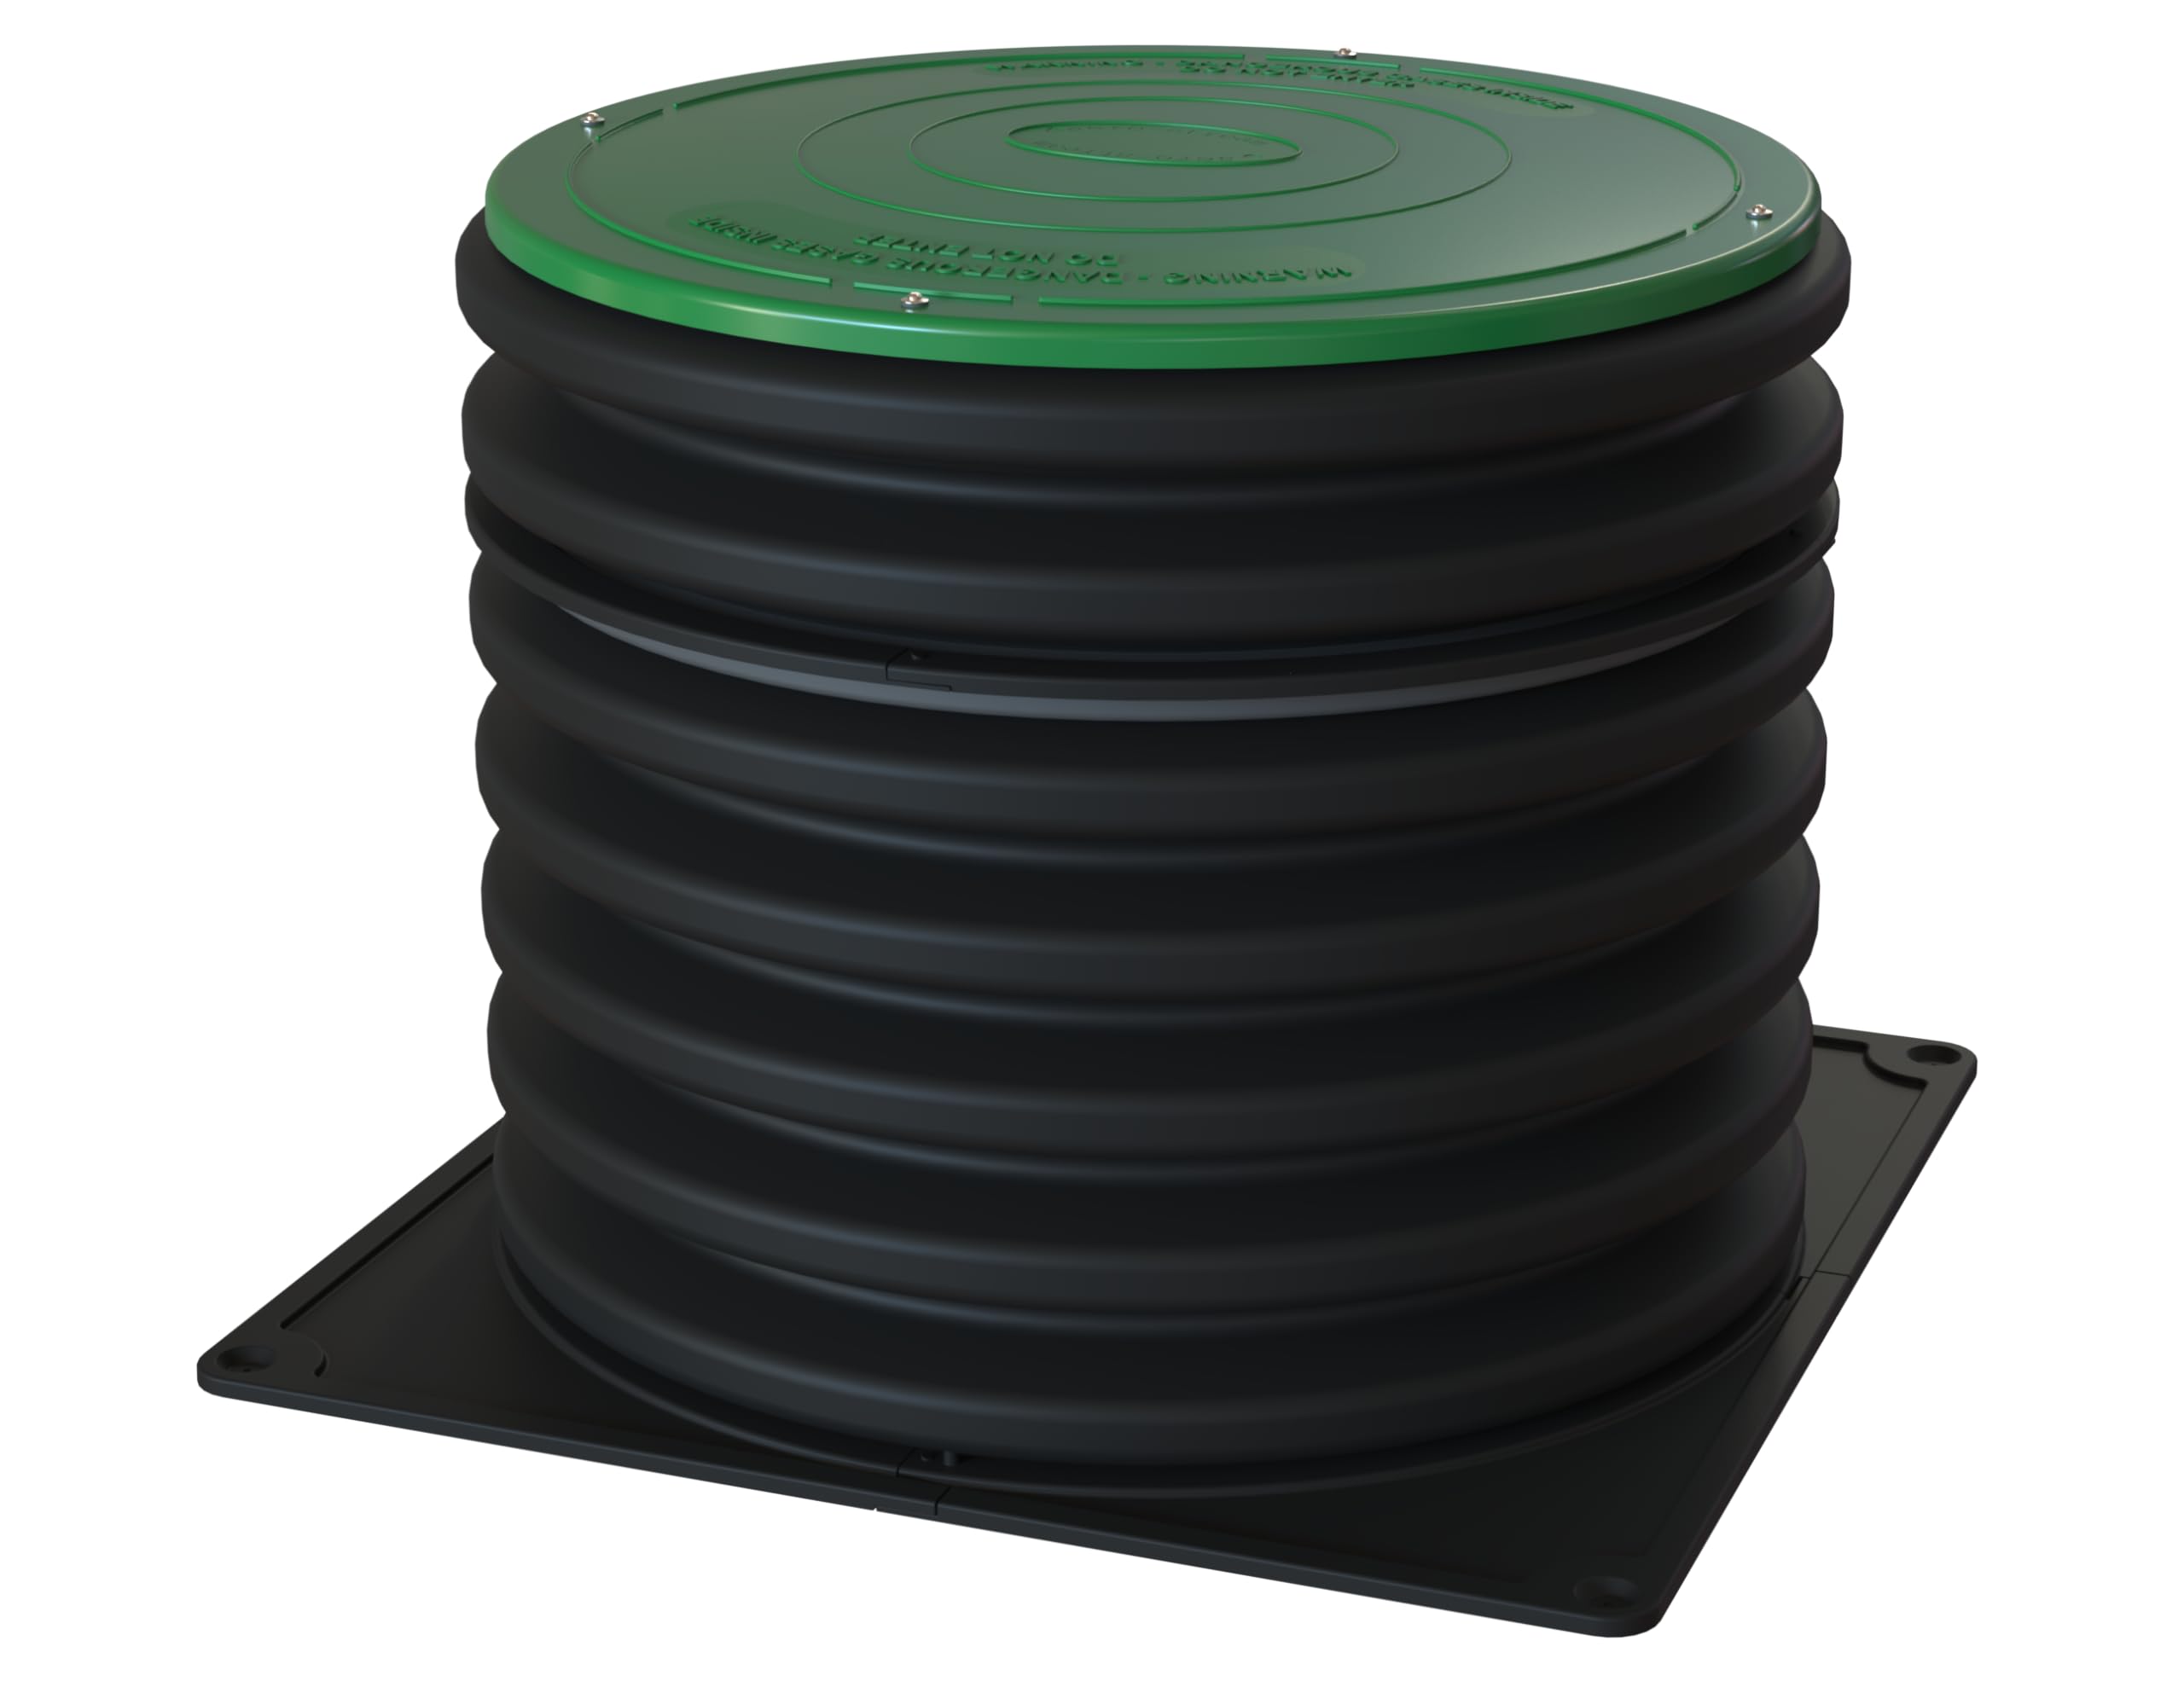
Aero-Stream AS-R23 Riser Kit
23.5" ID × 23" tall all-in-one kit including base flange with integrated safety barrier, corrugated pipe, cover, hardware, and sealant. The corrugated pipe adjusts to varying depths without custom fabrication — the right choice for tanks buried unusually deep. The safety barrier is the standout feature: required in high-traffic areas or anywhere children have access to the yard. Arrives with everything needed to finish the job.
Best for: Deeply buried tanks; safety-sensitive sites (pools, playgrounds); new complete installations where you want everything in one kit.
Check Price on Amazon →How to Install a Septic Tank Riser
The following procedure is based on guidance from Thurston County Environmental Health (WSU Extension), Clallam County WA Environmental Health, and URI Cooperative Extension.
Call 811 before any digging. Underground utility lines may run directly over your tank. Hitting a power line while digging can be fatal. The 811 service is free, nationwide, and marks lines within a few days. Never skip this step.
Use the buddy system. Fumes from exposed sewage can cause rapid unconsciousness. Never work alone on an open septic tank. Never enter the tank under any circumstances.
Maintenance
Risers are largely set-and-forget, but a brief annual check pays off:
- Inspect lid screws and gasket annually — confirm all screws are tight and the gasket is properly seated. A loose gasket allows water infiltration in rain events.
- Clear debris from the rim before closing — soil or organic material on the gasket seat prevents a complete seal.
- Reapply butyl rope or silicone sealant if you notice seepage, loosened joints between riser sections, or any gap at the base.
- Replace cracked or UV-degraded lids immediately — an open or damaged riser is a safety hazard and allows surface water into the tank.
- Cold climates: place rigid foam insulation cut to fit inside the lid before winter. University of Minnesota Extension: "Make sure all risers, inspection pipes, and manholes have tight covers to prevent cold air entering the system." A mulch layer (8–12") over the tank area adds insulation and is removed in spring.
While the tank is open for riser installation, add an effluent filter to the outlet baffle. URI explicitly pairs these as the two most important upgrades for any tank. The filter prevents solids from reaching and clogging the drain field — the most common cause of septic failure. Cost: $30–$80. The tank is already pumped and open; minimal additional labor. Clean it annually by rinsing it over the inlet end (not the outlet) of the tank.
FAQs
Start by measuring your tank's manhole opening diameter. Match the riser brand and diameter — Tuf-Tite and Polylok parts are not interchangeable. Decide between flat lid (low-profile, flush with grade) or domed lid (more clearance, stronger under foot traffic). Determine total height needed by measuring from tank top to grade. Buy a complete kit if possible — riser, adapter ring, lid, and screws in one purchase avoids sourcing mismatch. Always plan for butyl rope sealant and stainless steel screws.
Yes, for many homeowners. The job requires digging, cleaning the tank rim, positioning the adapter ring, seating the riser, applying concrete patch mix for the seal, and fastening the lid. You'll need basic tools, a concrete drill for some anchor applications, and butyl rope or silicone sealant. The most important preparation: call 811 before digging, use a buddy for safety, and never enter the tank. If the tank is over 20 years old, pump it first to verify structural integrity before installing risers.
Flat lids sit flush with the riser top and finish close to grade — they're the less obtrusive option and look tidier in high-visibility lawns. Domed lids are rounded, shed water away from the riser opening, and are structurally stronger under foot traffic. Tuf-Tite domed lids include a molded polyurethane gasket and can hold 64 lbs of concrete for additional security. Either choice is watertight with a properly seated gasket; choose based on your site conditions and aesthetic preference.
No — they are not interchangeable. Tuf-Tite lids only fit Tuf-Tite risers, and Polylok components only work with Polylok. If you're adding to an existing riser installation, identify the brand first and buy matching components. When starting from scratch, pick one brand and stick with it throughout the system.
Inspect the lid and screws at each septic service visit (every 3–5 years) and after heavy rain or snowmelt events. Confirm the gasket is sealed, all screws are tight, and there's no physical damage to the lid. A cracked or missing lid is both a safety hazard and allows surface water into the tank — replace immediately. In cold climates, check insulation placement each fall before first frost.